Why Install Before You Fly, Not After You Land
An Airalo eSIM is a digital SIM profile that installs over Wi-Fi, which means the entire setup process works best before you're standing in an unfamiliar arrivals hall hunting for a signal. Doing the install at home, a day or two ahead of your flight, also gives you time to fix a failed scan or a compatibility problem while you still have options, instead of discovering an issue with ten minutes until boarding.
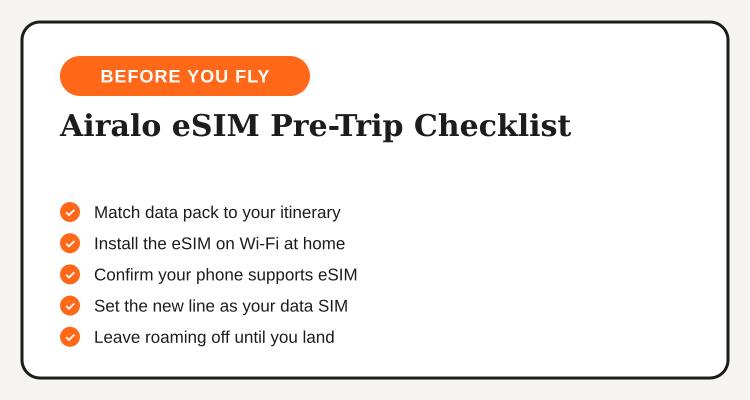
The process itself only takes a few minutes once you know the order of operations: pick the right plan for where you're going, scan the code on Wi-Fi, confirm the install, then leave data roaming off until you're actually in the destination country. Getting that last step backward, turning on roaming before you land, is one of the more common ways a Philippine traveler's eSIM setup goes sideways.
Step 1: Pick a Data Pack That Matches Your Trip
Airalo sells both country-specific and regional data packs, and the right choice depends on your itinerary. A single-destination trip (say, just Japan or just Thailand) is usually cheaper on a local plan, while a multi-country route through Southeast Asia or Europe is better served by a regional pack that works across borders without buying a new eSIM at every stop.
Match the data allowance to how much you'll actually use. Light use, mostly maps and messaging, fits comfortably into a smaller pack, while anyone planning to stream video, post regularly, or work remotely should size up rather than run out mid-trip and need a top-up.
Step 2: Scan the QR Code on Wi-Fi
After checkout, Airalo generates a QR code inside the app under "My eSIMs." Open it on Wi-Fi, since the install itself needs a stable connection to pull down the eSIM profile, and a weak or dropped connection mid-install is one of the few things that can corrupt the process.
On iPhone, go to Settings → Cellular → Add eSIM and choose "Use QR Code," then point your camera at the code shown in the Airalo app (scanning it directly from the app screen on another device, or from the emailed PDF, both work). On Android, the path is usually Settings → Network & Internet → SIMs → Add eSIM, though the exact wording shifts slightly by manufacturer. Either way, don't screenshot the code and scan the screenshot. Scan the original image directly, since a screenshot sometimes compresses the code past what your camera can reliably read.
Step 3: Let the Profile Finish Installing
Once your phone reads the code, it downloads and installs the eSIM profile automatically, which usually takes under a minute on a decent Wi-Fi connection. Don't close the settings screen or switch apps while this is running. An interrupted install is the most common reason a code that scanned successfully still ends up unusable.
When it finishes, your phone will show the new line in its cellular or SIM settings, typically labeled with the plan name or destination. If that line doesn't appear after a minute or two, the install likely failed partway through, and the fix is to delete the partial profile (if one shows up at all) and retry the same code once, on stronger Wi-Fi.
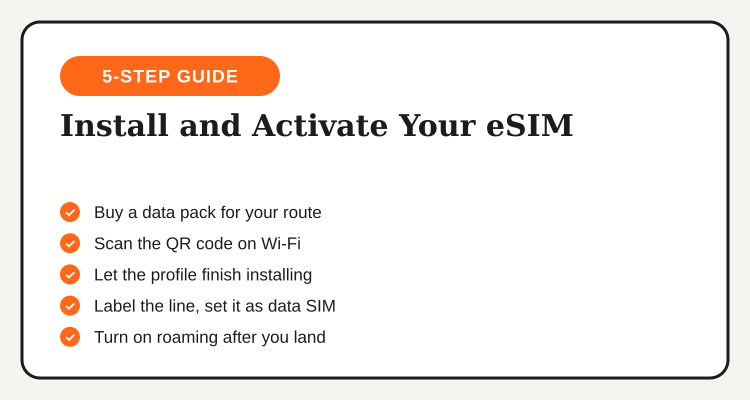
Step 4: Label the Line and Set It as Your Data SIM
Give the new eSIM line a name you'll recognize later, something like "Airalo Japan" rather than the generic default, especially if you travel often and end up with several eSIM profiles stored at once. This also matters for the next setting: your phone needs to know which line to actually pull data from.
On both iPhone and Android, there's a separate toggle for which line handles cellular data versus calls and texts. Point "Cellular Data" (iPhone) or "Mobile Data" (Android) at the new Airalo line, while leaving your regular Philippine SIM active for calls and SMS if you want to stay reachable on your usual number.
| Step | Where You Do It | When |
|---|---|---|
| Buy the data pack | Airalo app or website | Days before your flight |
| Scan the QR code | Phone settings, on Wi-Fi | At home, before departure |
| Set as data line | Cellular / SIM settings | Right after install |
| Turn on data roaming | Cellular / SIM settings, Airalo line only | After you land |
Check Current Airalo Data Pack Deals
Regional and country-specific eSIM data packs for over 200 destinations, including current new user discounts, are listed on the Airalo Philippines deals page.
See Airalo Deals →Step 5: Turn On Data Roaming Once You Land
This is the step worth leaving for last. Keep the Airalo line's data roaming switched off until your flight actually lands, both to avoid any confusion from two data lines fighting for a signal mid-transit and to keep your regular Philippine carrier from quietly racking up its own international roaming charges while you're still in the air.
Once you're on the ground, open your cellular settings, select the Airalo line specifically, and switch on data roaming for that line. Most plans activate automatically the moment your phone detects a network in the covered country or region, so there's no separate "activate" button to hunt for inside the app, the toggle is the activation.
What to Do if the Install Doesn't Go Smoothly
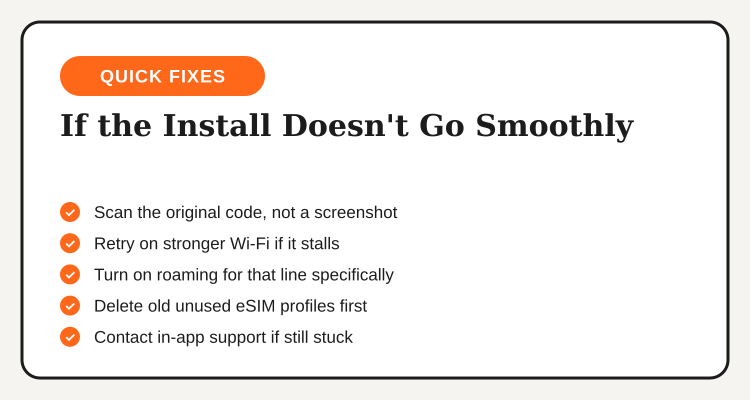
A handful of issues account for nearly every failed Airalo setup, and all of them are fixable without contacting support. If the QR code won't scan, make sure you're pointing your camera at the original image, not a screenshot, and that you're on a stable Wi-Fi connection rather than patchy hotel internet. If the line installs but shows no signal after landing, double check that data roaming is on for that specific line, not just your main SIM. If your phone has several old eSIM profiles from past trips sitting unused, delete them first, since most phones cap how many profiles they'll store even if only one is active at a time.
If none of that resolves it, Airalo's in-app live chat can reissue a failed eSIM or flag a device-specific compatibility block faster than repeated manual retries, especially useful if you're troubleshooting with a boarding call in the background.
Pack This Into Your Pre-Trip Routine
Treat the Airalo install the same way you'd treat packing your charger: something you do a day or two before your flight, not something you leave for the gate. Buy the plan that matches your itinerary, install it on Wi-Fi at home, confirm it's set as your data line, and leave the roaming toggle for after you land. That order, in that sequence, is what keeps an Airalo eSIM setup for Philippine travelers from turning into an airport scramble.
For connecting flights or layovers in a different country than your final destination, buy a pack that covers the region rather than just the destination country, so you're not stuck without data during a long layover either.
Frequently Asked Questions
New user discounts and referral credit for Airalo eSIM data packs, updated regularly on TipidNation.
View Airalo Deals →